Creating a Linux Docker Container for Development on Windows
In this tutorial, we will demonsrate how to get started with Docker by creating a container with the latest version of Ubuntu. This tutorial is intended for new users of Docker. Docker is a set of platform as a service (PaaS) products that use OS-level virtualization to deliver software packages called containers. The software that hosts the containers is called the Docker Engine. Code developers, such as ourselves, will enjoy all the benefits of a unix based development environment by creating a docker container with the Ubuntu image.
0. Installing Docker
Visit Docker then download and install Docker desktop which will provide the backend and a friendly GUI for managing your machines. Make sure the ‘Use WSL2 instead of Hyper-V (recommended)’ box is checked. You will need to restart windows in order for the installation to complete. You may also receive a dialogue indicating that Docker Desktop requires a newer WSL kernel version. In this case type
wsl --update
into Powershell. Now restart Docker Desktop.
1. Pulling an Image
The Docker Hub supports the upload and download of many different Docker images. These images act as a set of instructions to build a Docker container. There are a variety of different images including mysql, nodejs, nginx, and my more. We’re interested in creating a Ubuntu Docker container so we’ll type into Powershell:
docker pull ubuntu
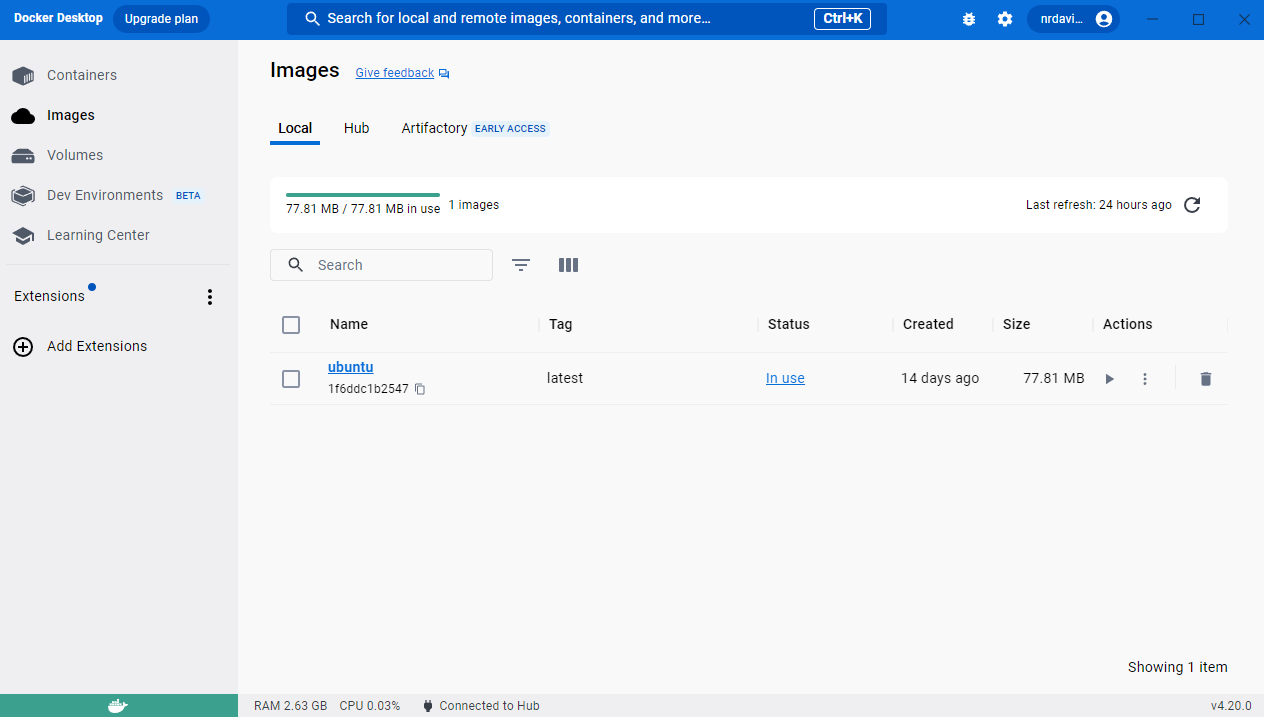
Throughout this tutorial, it is a good idea to keep the Docker Desktoop app open to provide yourself with GUI feedback to these oprations. Many of the operations I describe here can also be performed within the confines of the Docker Desktop application. If done successfully, you should see the ubuntu image under the ‘images’ section of Docker Desktop.

2. Creating the container
Now that we have the Ubutun image successfully downloaded, we can create the Docker container. To do this, we can type the following command into Powershell.
docker run --name CONTAINER_NAME -p 2200:22 -v FILE_PATH:/src -t -i ubuntu /bin/bash
Let’s disect this command. The docker run command creates and runs a new container from an image. The --name flag allows us to name the container CONTAINER_NAME. This can be whatever you want. Next the -p flag publishes our local port 2200 and fowards that to port 22 in the container. The -v flag bind mounts a volume specified by FILE_PATH and puts it in the src folder in the container. This will allow us to share the directory we specify, with the container. This street is two ways so anything written to src in the container will be written to FILE_PATH on the host machine and vice versa. -t allocates a pseduo-TTY and -i keeps STDIN open. Lastly, we specify the image we want docker to create the container from, ubuntu and we tell it to execute bash. If done successfully, you will see root@some_string:/# indicating that you have entered the container as root.
To exit the container simply type
exit
To enter back into the running container type
docker exec -it CONTAINER_NAME bash
Furthermore, to stop a running container, first exit the container then type
docker stop CONTAINER_NAME
To start the container again type,
docker start -i CONTAINER_NAME
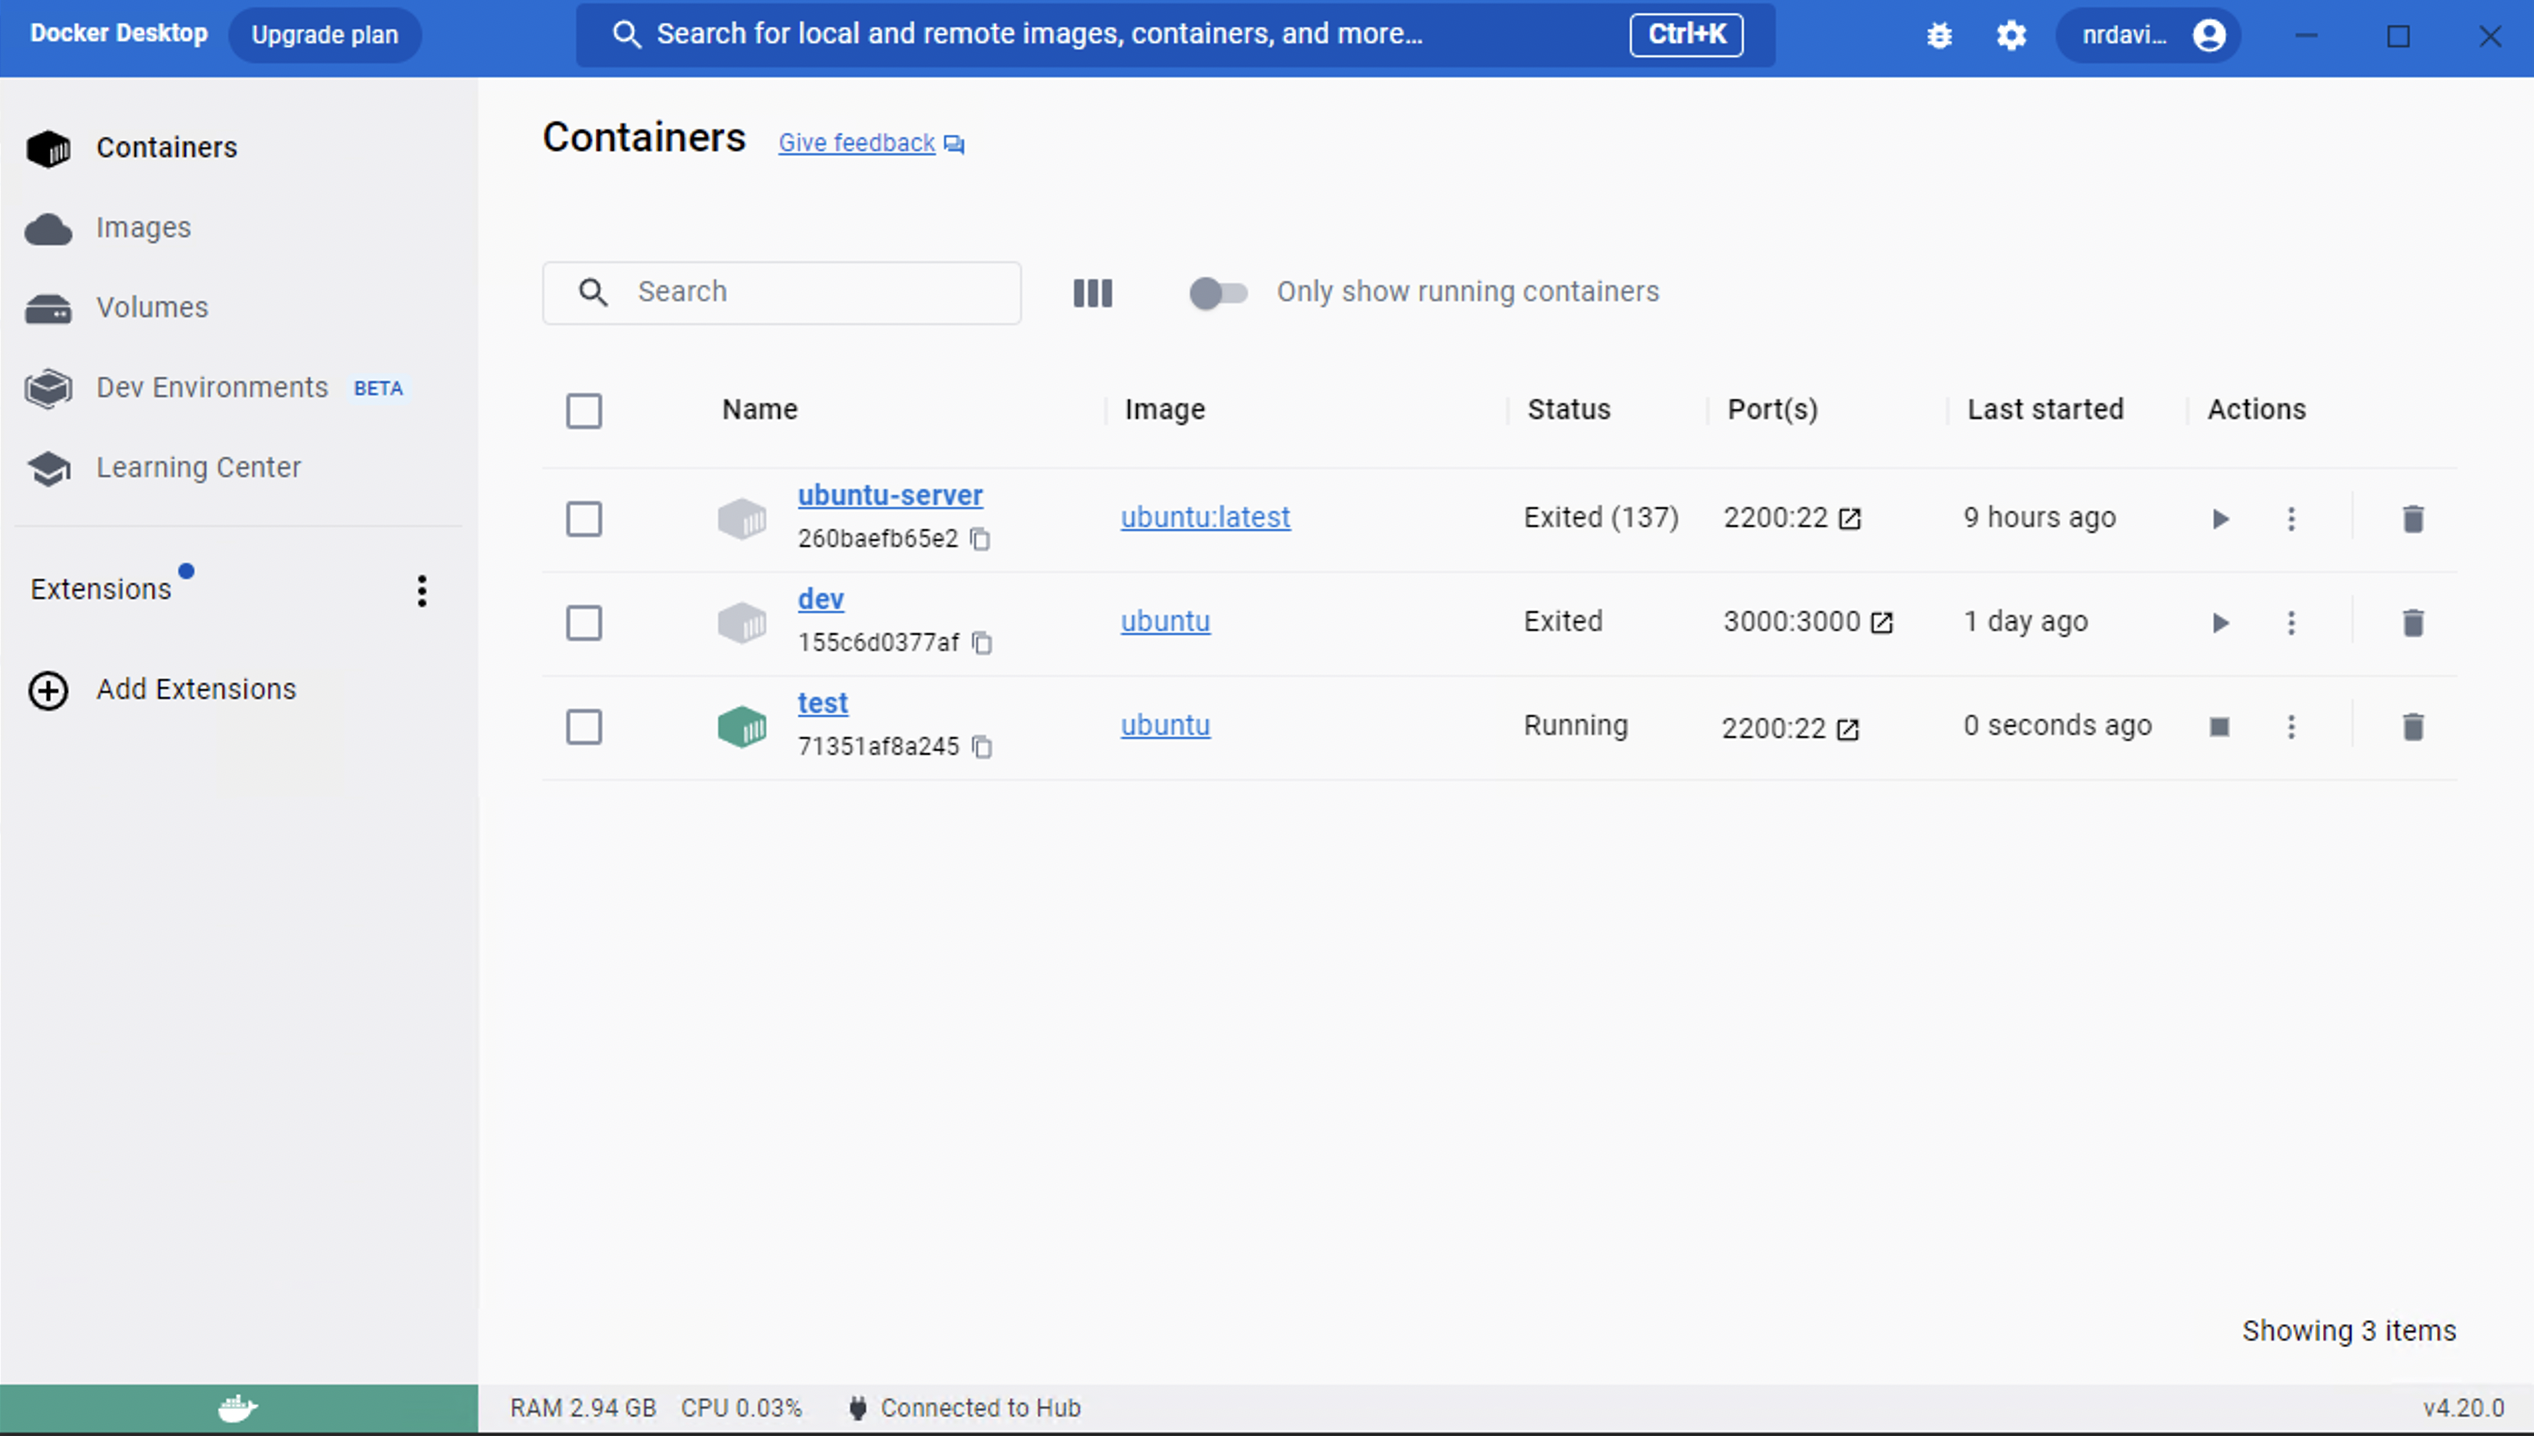
which will bring you back to root. From the Docker Desktop application, you can see a list of all your containers and actions you can perform with them.

3. Conclusion
In this tutorial, we learned how to create a Docker container from a downloaded image. We also covered some of the basic Docker commands you need to get started. Happy Dockerizing!
